Ever found yourself pedaling through the bustling streets of New York, your trusty fixie’s chain not running as smooth as you’d want? That gritty feeling under each stroke can be a real drag to your ride. But hey, what if I told you that how to re-wax your bike chain could make all the difference?
Dive in as I spill the secrets to a slick and efficient chain that keeps you rolling without a hitch, and if you haven’t yet, check out some of the best fixie bikes to pair with your newly-waxed chain. We’ll cover the detailed step-by-step on getting that chain back to its optimal glory.
If you are a visual learner, check out this video titled ‘How To Re-wax Your Chain & Make It Last Longer!’
Key takeaways
- Thoroughly clean and degrease the chain before waxing.
- Choose a high-quality wax that suits your riding conditions.
- Regularly re-wax every few hundred miles, especially in bad weather.
How to re-wax a bike chain
Re-waxing your bike chain is like giving your fixie a sip of that magic potion. It’s all about getting that chain to glide effortlessly around the cogs, removing the unwelcome gunk, and replacing it with a smooth coat of wax – all resulting in a quieter ride and longer chain life. Here’s how to kick the grease to the curb and get your chain spinning like new.

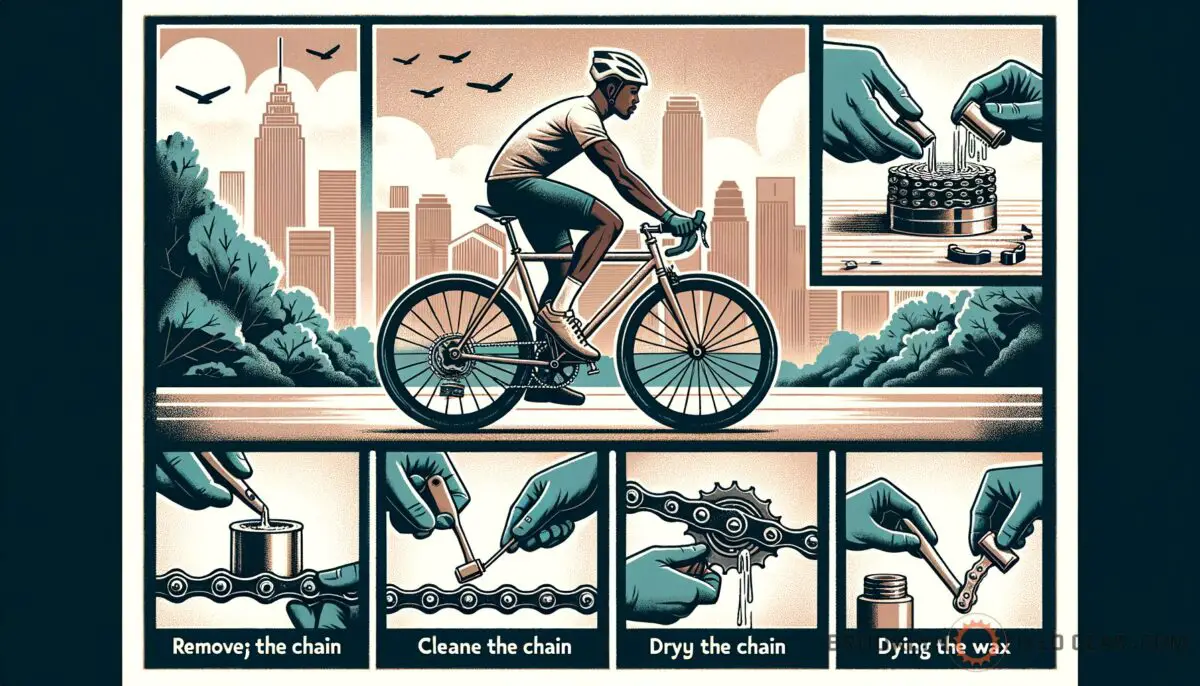
Step 1: Remove the chain
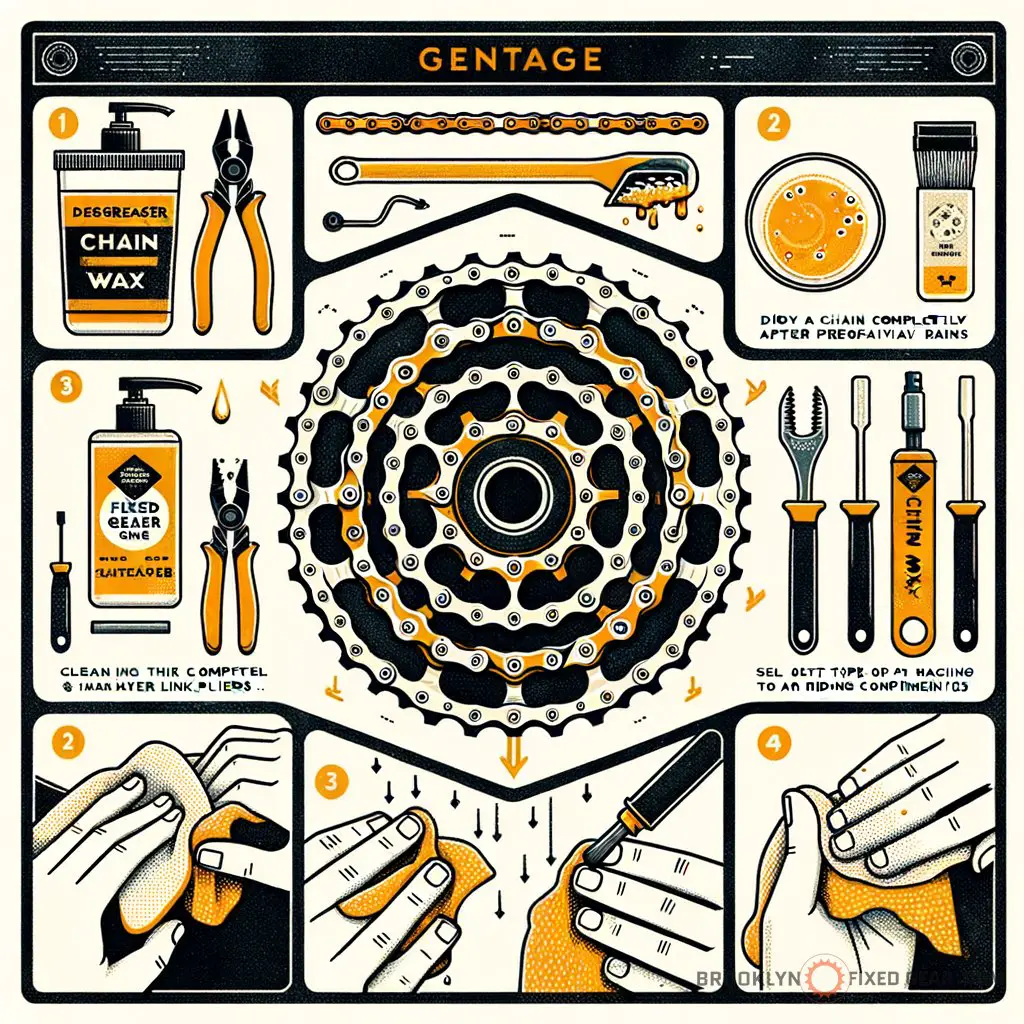
Pop your chain off the bike using a chain breaker or master link pliers. If you’re running a swanky track setup, you might need a chain whip to keep things in place. Remember, removing it allows for a thorough clean and an even application of wax.
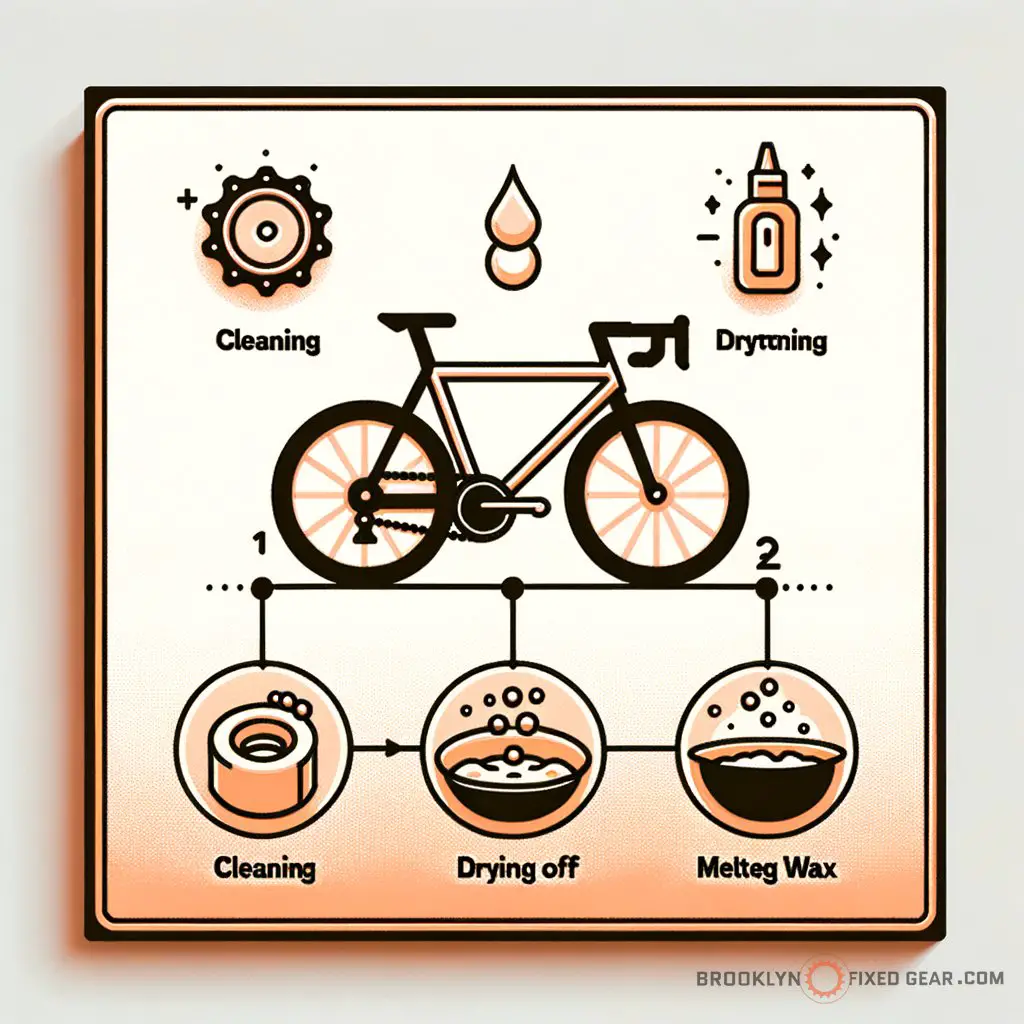
Step 2: Clean the chain thoroughly
Take a degreaser or some good ol’ dish soap and hot water and give your chain a well-deserved bath. It’s crucial to strip off old lubricants and dirt, so the new wax can adhere better. No skimping on the elbow grease here – make that chain shine!

Step 3: Dry the chain completely
Post-wash, give your chain enough time to air dry, or speed up the process with a dry rag or an air compressor if you have it handy. Any moisture left on the chain can cause the wax to not stick properly, leading to less effective lubrication.
Step 4: Select the right wax
Beanie on, it’s research time. There are various types of chain waxes on the market, so pick one that suits your riding conditions and preferences. A good quality wax can make all the difference in performance and protection against the elements.
Step 5: Melt the wax
If your chosen wax comes in a solid form, you’ll need to melt it. Safety first – use a double boiler or a dedicated wax melter to avoid any flammable mishaps. Think of it like melting chocolate; you want it liquid but not boiling.
Step 6: Immerse the chain in wax
Once the wax is melted, dunk your dried chain into it. Ensure the wax infiltrates every link and roller by leaving it submerged for a few minutes. It’s like marinating a good steak; you want every nook and cranny to get some love.
Step 7: Hang the chain to dry
Fish out your chain carefully with a wire hook or an old spoke and hang it up to dry. Wait for the wax to cool and solidify, bonding with every bit of the metal. It’s a waiting game, but patience pays off with a slick, protected chain.
Step 8: Reinstall the chain
With the wax set and your chain looking fresh, reattach it to your bike. Make sure it’s properly aligned and tensioned – no one likes a droopy chain on their fixie. Now you’re ready to hit the streets with a chain that’s smoother than your pedal stroke on a sunny Sunday morning.
State Bicycle Co. Black Label 6061

State Bicycle Co. Black Label 6061
More re-waxing tips
While the steps above will guide you through a standard chain re-waxing process, it’s always helpful to keep some more tricks up your sleeve. These extra bits of know-how can enhance the longevity of your chain and improve your ride quality.
- Store your wax in a cool, dry place to keep it from getting all clumpy.
- Consider wearing gloves during the process to keep your hands clean and burn-free.
- Re-waxing your chain regularly is key, especially after riding in wet or dirty conditions.
- Inspect your chain for wear or damage each time you re-wax it, ultimately saving you from unexpected breakdowns.
Before getting too deep into the details, let’s touch on some do’s and don’ts to ensure your chain waxing efforts are top-notch.
| Do | Don’t |
|---|---|
| Use a high-quality chain wax. | Rush the drying process. |
| Ensure your workspace is well-ventilated. | Use a dirty pot for melting wax. |
| Follow the wax manufacturer’s instructions. | Skip cleaning the chain thoroughly. |
| Check the chain’s compatibility with wax lubricants. | Mix different types of lubricants. |
“Re-waxing your bike chain is like giving your fixie a sip of that magic potion. It’s all about getting that chain to glide effortlessly around the cogs, removing the unwelcome gunk, and replacing it with a smooth coat of wax.”
The perfect balance between too much and too little can make re-waxing a breeze.
Advantages and disadvantages of re-waxing
When turning the pedals on your sleek machine, every bit of maintenance counts. Applying a fresh coat of wax to your chain is no exception—it can make your ride smoother and more efficient. Let’s break down the why and why not.
Advantages
- Wax is cleaner than oil-based lubes, meaning less grime on your chain and pant legs.
- It provides excellent lubrication, which can translate to a more silent and smooth ride.
- Wax tends to last longer than traditional lubricants, especially in dry conditions.
- It extends your chain’s life by reducing metal-to-metal wear.
Disadvantages
Now, not everything about re-waxing your bike chain is a bed of roses; here are some considerations:
- It can be time-consuming compared to simply squirting on some lube.
- In cold temperatures, wax can become less effective.
- Not all chains are suitable for waxing—some are better off with specific oil-based lubricants.
- Wax needs to be completely cleaned off before reapplication, which can be a messy process.
As a cyclist who’s all about that fixie lifestyle, I’ve got to say, I love the precision and cleanliness that re-waxing a bike chain brings. From a non-expert perspective, though I am savvy with a chain whip and not afraid to get my hands dirty, the process feels almost meditative. It’s more than just bike maintenance; it’s a ritual that preps you for many smooth rides ahead.
Plus, there’s a deep satisfaction in knowing you’re taking proactive steps to protect your beloved steed from the harsh beatdown of the city streets.
Now, it’s just my two cents, but I think waxing the chain is something every fixed-gear rider should get behind. It’s a bit more involved than your run-of-the-mill lube job, sure, but the payoff is worth it—less mess, longer-lasting, and a whisper-quiet ride. And if you’re keen on upping your fixie game, have a look at the impact urban infrastructure has on fixed-gear cycling to see why keeping your ride in top condition is critical to enjoying the cityscape.
Frequently asked questions (FAQ)
How usually should I re-wax my bike chain?
Ideally, you want to re-wax your chain every few hundred miles or so, depending on your riding conditions. If you’re usually out braving the elements or tackling urban jungles, you might need to do it more frequently to keep your chain in top-notch condition.
Can I use any kind of wax for my bike chain?
Not all waxes are created equal when it comes to your bike chain. Look for specific bike chain waxes, which are formulated to withstand the friction and heat generated by cycling. They tend to have a higher melting point and provide better lubrication than standard waxes.
Should I remove the old wax before applying a new coat?
Absolutely, you’ll want to remove all the old wax before slapping on a new coat. This ensures that the new wax adheres properly and provides optimal performance. Give your chain a good clean and make sure it’s dry before you start the waxing process.
Final thoughts
And there you have it – a trusty guide to keep your bike chain running like a dream. Remember, re-waxing your chain is not just about the smooth ride; it’s an investment in the longevity of your bicycle. With these techniques, you’ll keep those pedals turning with ease, making every ride a breeze, whether you’re cruising through the concrete jungle or pushing the pace on your local fixie circuit.
How has re-waxing impacted your cycling routine? Did I cover everything you wanted to know? I read and reply to every comment. If you found this article helpful, share it with a friend, and check out my full blog for more tips and tricks on maintaining your fixie. Thanks for reading, and keep those chains waxed and wheels turning!


