Ever find yourself coasting through the urban jungle, and suddenly your chain gives out? There’s nothing like that sudden jolt to remind you of the heartbeat of your ride: the bike chain. And hey, whether you’re a seasoned fixie aficionado or a fresh face to the scene, proper maintenance is key.
Wanna know how to replace a bike chain on your prized single-speed stallion? We’ll dive into a step-by-step guide that keeps you rolling smooth.
Key takeaways
- Gather the right tools to remove and replace a bike chain efficiently.
- Correct measurement and alignment are key to a successful chain replacement.
- Regular maintenance extends the life of your chain and improves riding performance.
Ready to master the chain swap?
Bike chains don’t last forever, amigo. When your trusty fixie starts acting up with a slack or broken chain, you know it’s time for a change. Here’s where I come in with a numbered rundown that’ll get your beloved bike back on track.

Keep your ride purring with these clear-cut steps, and don’t worry – I’ve got some primo advice for each stage of the game with a sprinkle of New York grit.
1. Gather your tools
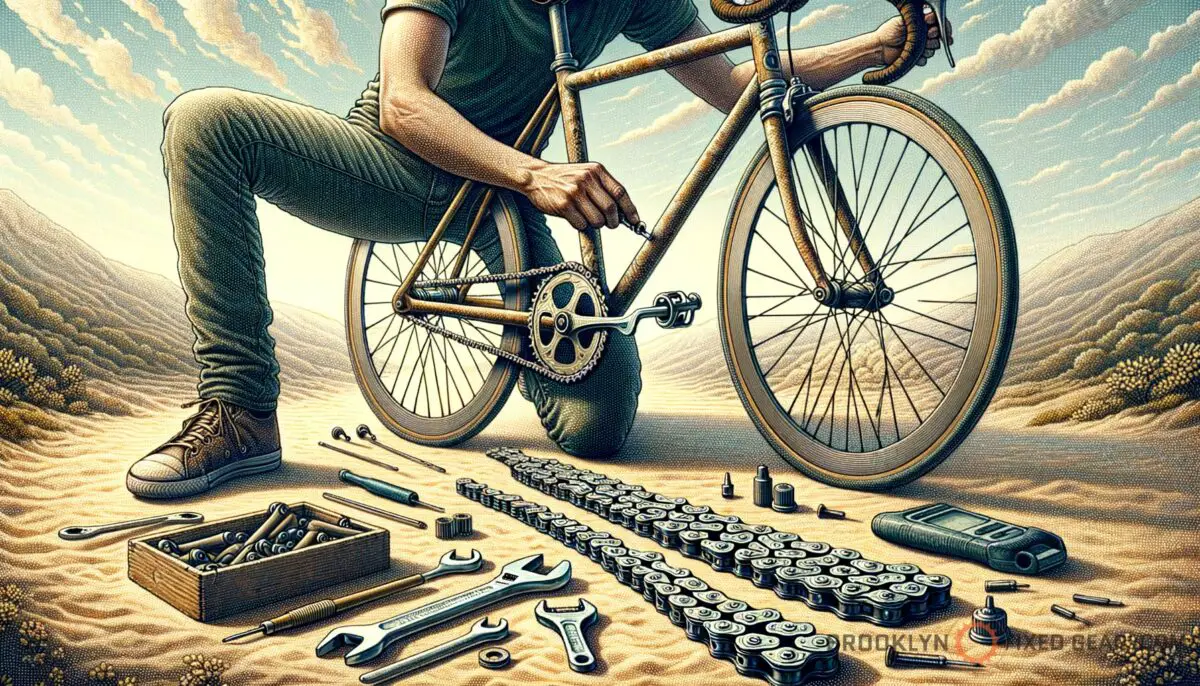
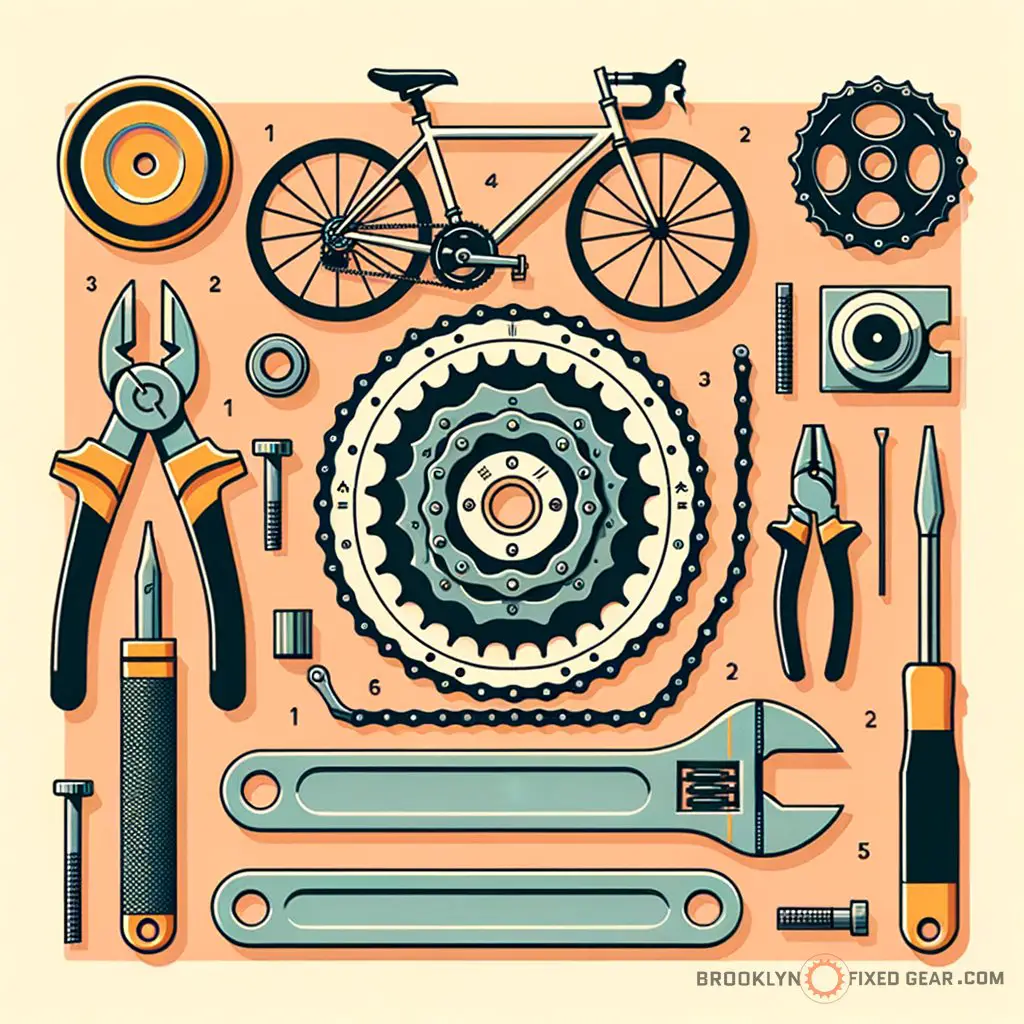
First things first: snag the right tools for the job. Without them, you’re like a DJ without records – not going to make much noise. You’ll need a chain tool to push the pins out, a pair of pliers might come in handy too, and definitely don’t forget a bike multi-tool – it’s like the Swiss Army knife for fixie fanatics.
Why these particular gadgets, you ask? With the right tools, this isn’t just maintenance; it’s a rite of passage. Swapping a chain without them is like trying to eat soup with a fork – frustrating and messy.
Make sure you’re prepped, and you’ll keep the cursing to a minimum. Need a solid multi-tool recommendation? You’re in luck, just swing by these must-have bike multi-tools.
2. Measure the new chain
Got your new chain? Great. Don’t just throw it on; measure it first to make sure it matches the length of the old one.

If you’re switching from another type of bike, remember that fixies and track bikes run closer to the chainstay – you want it snug, not dangling.
Measuring is crucial because, in our fixed-gear world, there’s no derailleur to take up slack. Get this wrong, and you could be chewing up your gear or, worse, locking up mid-ride. It’s like wearing pants that don’t fit – you can do it, but it won’t be pretty.
Not sure how to measure properly? Check the guide on how gear ratios affect fixed gear bike performance for some pointers.
3. Remove the old chain
The old chain has got to go. If it has a master link, pop it open with those pliers I mentioned. No master link?
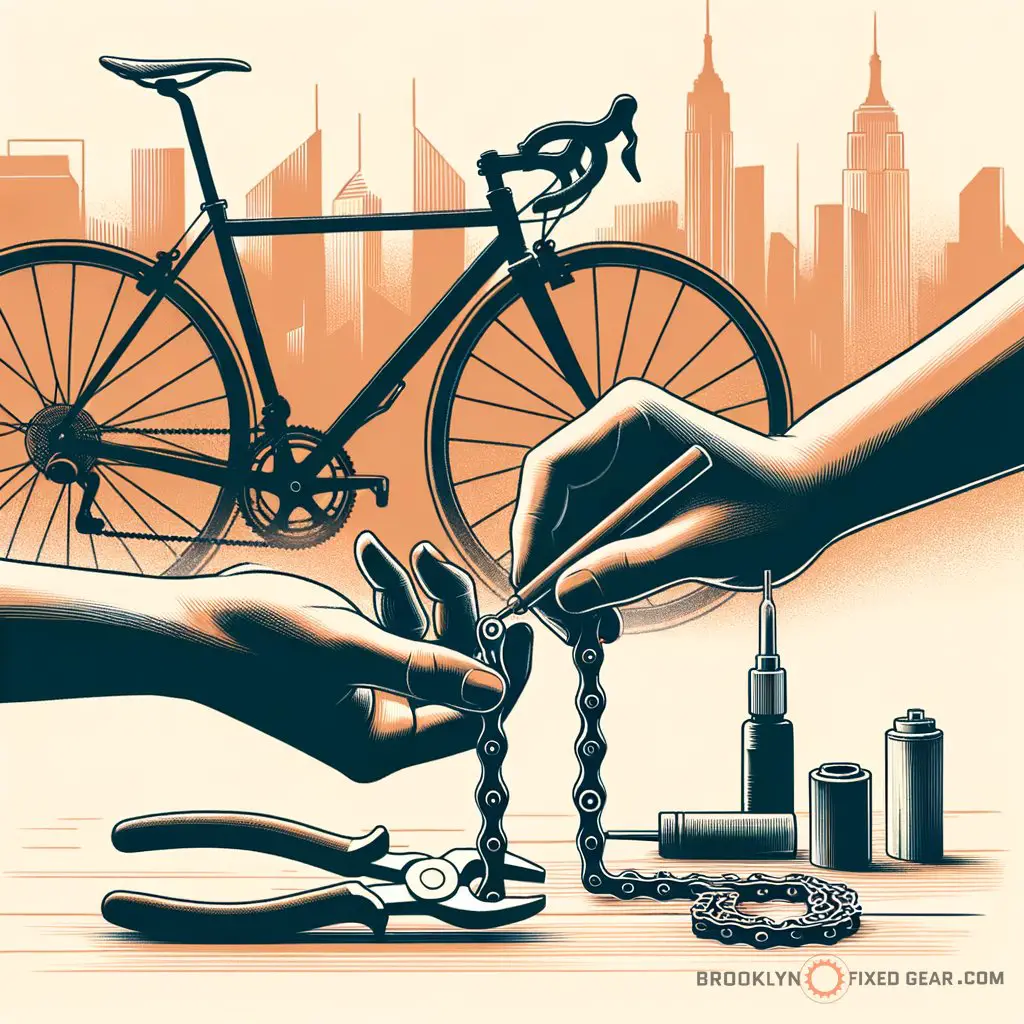
Use the chain tool to push out a pin. You’ll want to do this carefully – like disarming a tiny metal bomb.
Why be so careful? Rush this step, and you might damage something, turning a simple swap into a full-on repair job. We’ve all been there – haste makes waste, and in NYC, time’s always ticking. Learn to avoid other common oversights by reviewing the common mistakes made when building a fixie.

4. Install the new chain
Look at that shiny new chain, ready to join the bike. Loop it through the front and rear sprockets, making sure it’s running straight. If your new chain has a master link, now’s when you’ll snap that baby closed.
The right installation means smooth sailing, or rather, smooth pedaling. It’s like lining up the perfect shot in pool – it looks easy, but it’s all about precision. Get the lowdown on the right technique from the resource on bike repair and maintenance community workshops.
5. Test and fine-tune
All set? Not so fast – give it a test run before you hit the street. Spin those pedals and check the tension.
You want it taut, but not tight. And keep an ear out for irregular sounds – they’re like the check engine light for bikes.
Getting the tension just right isn’t guesswork, it’s art with a splash of science. Too tight and you strain the drivetrain; too loose and you risk a slip mid-push. Need extra info on maintenance?
Dive into the article on how to re-wax a bike chain for some more insight.
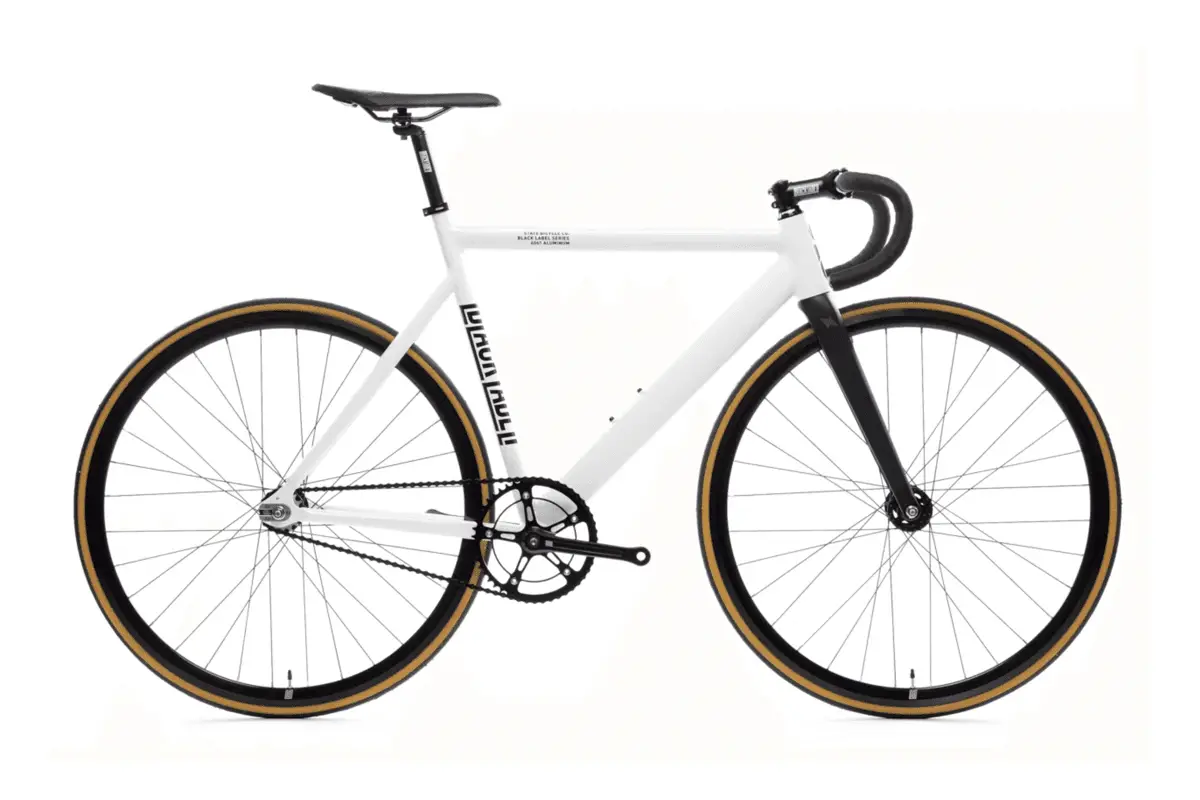
State Bicycle Co. Black Label 6061

State Bicycle Co. Black Label 6061
More chain replacement tips
When it comes to replacing your bike chain, there are other nuggets of wisdom that can make all the difference. Here’s a selection of pro tips that’ll keep you pedaling with confidence, whether you’re slicing through city streets or cruising on your favorite track.
- Periodically clean your chain to extend its life – a dirty chain degrades faster.
- Use a chain checker tool to assess wear – this helps you anticipate replacements before a break.
- When cutting a new chain to size, leave a couple of extra links in a safe place. You’ll thank yourself later if you need them.
- Consider upgrading to a higher-quality chain for better durability and smoother rides.
Now, let’s talk dos and don’ts, because the devil’s in the details:
| Do | Don’t |
|---|---|
| Check chain wear regularly with a proper tool | Ignore strange noises from your drivetrain |
| Lubricate your chain after cleaning | Use a chain that’s too long or too short |
| Follow the manufacturer’s chain length specifications | Skip testing after installation |
| Ensure proper alignment of the chain | Force the master link if it doesn’t fit properly |
“Measuring is crucial because, in our fixed-gear world, there’s no derailleur to take up slack. Get this wrong, and you could be chewing up your gear or, worse, locking up mid-ride.”
Note: The dos ensure longevity and peak performance, while the don’ts can lead to inefficiency and breakdowns.
Advantages and disadvantages of replacing a bike chain
Switching out a bike chain might seem like a hassle, but it’s a core part of maintaining your fixie’s performance. The advantages go beyond just having a functional bike; it’s about the ride quality and the connection you share with your two-wheeled comrade.
Advantages
- Smoother pedaling and gear shifting
- Reduced wear on the sprockets and crankset
- Increased safety, minimizing the risk of chain snapping
- Better energy efficiency, making your ride more effective
Disadvantages
- It requires time and possibly more tools
- Incorrect replacement can result in damage to the bike
- Potential mess from grease and dirt
- The initial investment if purchasing a premium chain
In my opinion, as someone who isn’t a certified mechanic but has spent a fair amount of time wrenching on track bikes, replacing your bike chain isn’t just necessary—it’s a ritual that brings you closer to your bike. It’s like knowing your coffee preference; it personalizes the experience. True, it takes a bit of elbow grease and patience, but once you’ve got that new chain gleaming on your ride, the satisfaction is unbeatable.
Plus, it’s an excellent opportunity to get to know your steed better, learning its quirks and what makes it tick. Heading to a community workshop could be a phenomenal way to share experiences and get tips from other fixie enthusiasts.
Remember, though I’m pretty involved in this whole fixed-gear scene, my advice comes from personal experience—intuition mixed with a bit of trial and error. I’ve busted a chain mid-sprint and felt that heart-sinking click of a link giving out. I can’t stress enough the importance of preventive maintenance and the peace of mind it brings, especially when you’re weaving through hectic traffic.
You learn a lot doing it yourself, and those skills come in handy in ways you’d never anticipate.
If you are a visual learner, check out this video titled ‘How To Replace A Bicycle Chain’
Frequently asked questions (FAQ)
How usually should I check my bike chain for wear?
Your chain is the unsung workhorse of your ride, silently taking a beating with every pedal stroke. It’s a good habit to check for chain wear every few months or every 500 miles, whichever comes first. If you’re regularly riding in harsh conditions or putting down a serious amount of watts, you might want to check more usually.
Keep an eye out for stretched links, because once they go beyond 0.75% wear, it’s time to plan for a replacement.
Can I use any chain on my fixed-gear bike?
Not all chains are created equal, and this is especially true for fixies. You need a specific 1/8-inch width chain that’s built to handle the direct power transfer of a single-speed setup. Using something too narrow or not designed for a fixed-gear’s tension can lead to slippage or snapping, and trust me, that’s the last thing you want when hammering it out on the streets.
What’s the best way to dispose of my old bike chain?
Doing right by Mother Nature includes properly ditching that rusty old chain. Many bike shops offer recycling programs, so that’s a solid bet. Otherwise, consider upcycling it into some kind of art or practical household item – it’s quite the conversation starter and a nod to your pedal-pushing passion.
Final thoughts
Replacing your bike chain is a critical piece of maintenance that ensures your steed stays in top condition, enabling you to enjoy the pure, unadulterated joy of fixed-gear cycling. With the right tools, a touch of know-how, and a dab of patience, you’re now equipped to handle a chain swap like a pro. Keep riding, keep learning, and remember that every twist of the wrench sharpens not just your bike’s performance, but your skills as a cyclist.
What’s your experience with replacing a bike chain on your fixie? Did I cover everything you wanted to know? Let me know in the comments section below; I read and reply to every comment. If you found this article helpful, share it with a friend, and check out my full blog for more tips and tricks on maintaining your ride.
Thanks for reading and keep spinning those gears!


