Are you tired of your hands slipping on your bike handlebars? Do you wish your hands could effortlessly grip the handlebars without fail? Well, my friends, you’re in luck. Your handlebars just need a little TLC, and today’s blog post is all about how to clean handlebar tape!
In this post, we’re going to dive into the nitty-gritty details of handlebar tape cleaning, including some tips and tricks to keep your tape looking and feeling brand new. We’ll explore the best materials and methods for cleaning, as well as some common mistakes to avoid. So get a grip, and let’s learn how to clean handlebar tape like a pro!
Why is it important to clean handlebar tape?
To begin with, clean handlebar tape can increase your grip and improve your riding experience. A firm grip on your handlebars is also vital for safety reasons.

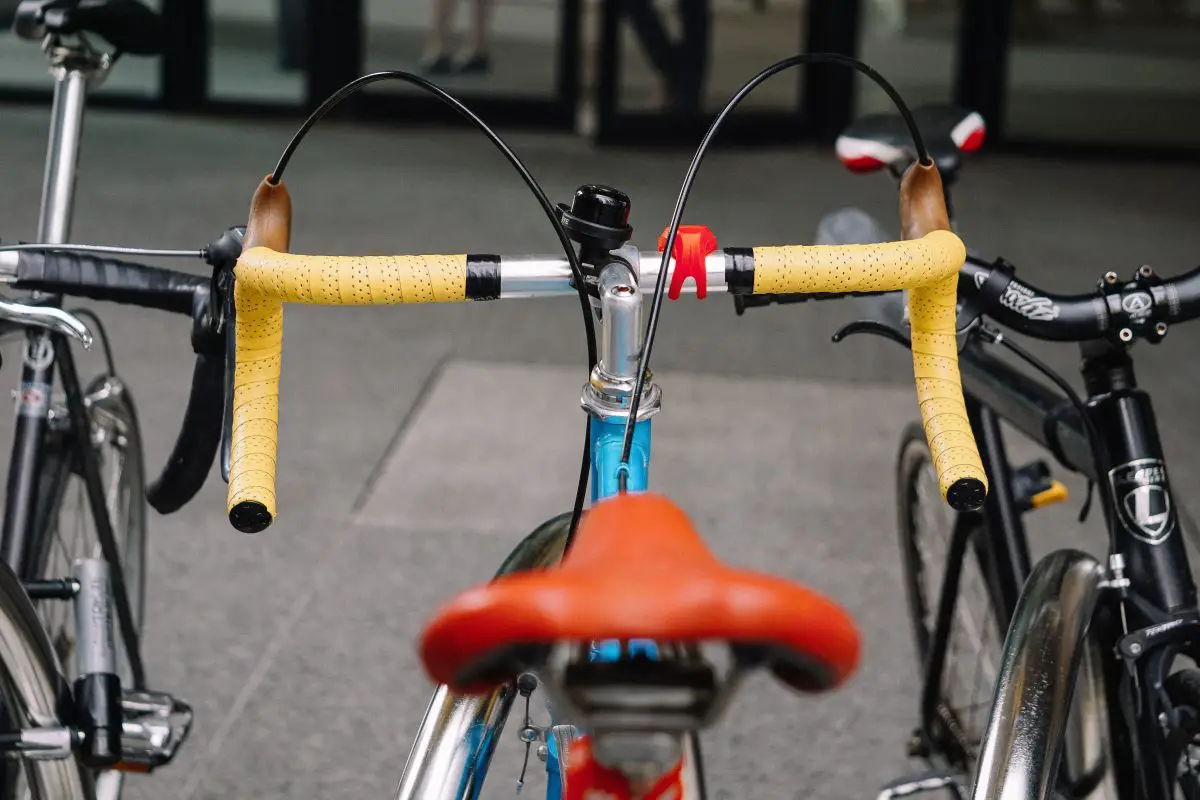
Keeping your handlebar tape in good condition can also improve the overall appearance of your bike. Shellacked cotton handlebar tape, for example, is well-known for its simplicity of washing and upkeep. Regularly cleaning your handlebar tape helps it last longer, so you won’t have to replace it often.
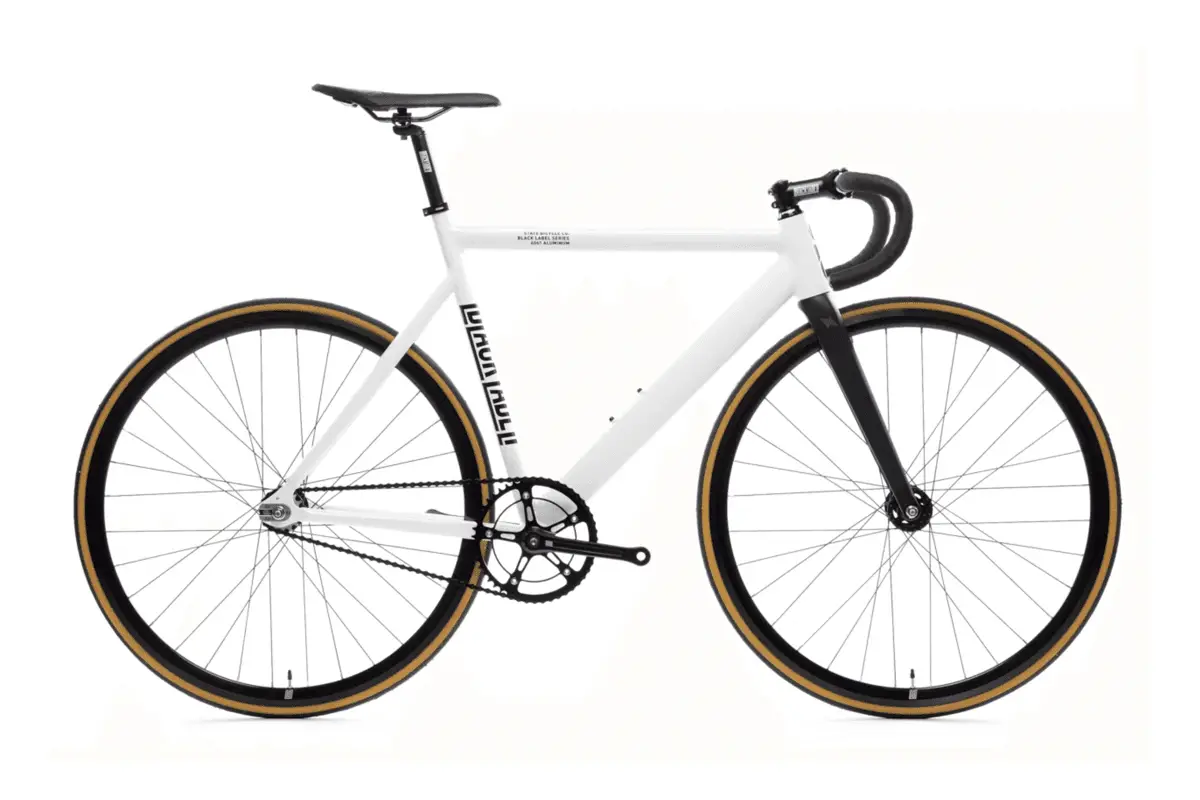
State Bicycle Co. Black Label 6061

State Bicycle Co. Black Label 6061
What materials are necessary for cleaning handlebar tape?
Keeping your handlebars clean and well-maintained can significantly improve your riding experience. The materials needed for cleaning handlebar tape may include:
- Mild soap or bike-specific cleaner
- Soft-bristled brush
- Clean towel
- Alcohol and rag (for shellacked cotton tape)
- Electrical tape (for removing the handlebar tape)
- Scissors (for removing the handlebar tape)

Tips for keeping your handlebar tape clean
Here are some tips for preventing handlebar tape from getting dirty again:
1. Keep your hands clean
One of the main reasons handlebar tape gets dirty is due to contact with dirty or sweaty hands. To prevent this, wash your hands before riding or wear gloves while riding.
2. Use handlebar tape cleaner
A specific cleaner designed for handlebar tape can help prevent dirt and grime buildup. These cleaners are usually mild and won’t damage the tape material.
A protective coating, such as shellac or hairspray, can help prevent dirt and grime from accumulating into the handlebar tape.
3. Apply a protective coating
A protective coating, such as shellac or hairspray, can help prevent dirt and grime from accumulating into the handlebar tape. However, it’s important to note that this can also make the tape more slippery.
4. Regularly clean your bike
Keeping your bike clean can prevent dirt and grime buildup on your handlebar tape. Regularly clean your bike, especially after riding in wet or muddy conditions.
By following these tips, you can help prevent your handlebar tape from getting dirty again and keep it looking clean and fresh for longer.
How to clean handlebar tape
If you’re a cyclist, you know that keeping your bike clean and well-maintained is essential. One important aspect of this is regularly cleaning your handlebar tape. We broke down the process of cleaning handlebar tape into seven easy-to-follow steps, so you can keep your bike looking and riding great.
1. Gather the necessary cleaning materials
You will need a bucket, mild soap or bike-specific cleaner, a soft-bristled brush, and a clean towel.
2. Remove the handlebar tape
Carefully peel off the handlebar tape from your bike’s handlebars. Keep track of how the tape was wrapped so you can reapply it correctly.
3. Clean the tape
Mix some soap or bike-specific cleaner with water in a bucket. Dip the soft-bristled brush into the solution and scrub the tape gently, working from one end to the other. Take care not to use too much pressure, which may cause the tape to fray or become damaged.
4. Rinse the tape
Use a clean, damp towel to remove the cleaning solution from the handlebar tape. Rinse the towel in clean water and continue wiping until all the soap has been removed.
5. Dry the tape
Use a dry towel to pat the handlebar tape dry. Let the tape air dry for a few hours before reapplying it to the handlebars if possible.
6. Reapply the tape
Once the tape is completely dry, carefully wrap it back around the handlebars. Take care to wrap the tape evenly and without any wrinkles or bumps.
7. Secure the ends of the tape
Cut off any excess tape at the end of the handlebars and use tape or end plugs to secure the tape.
If you want even more tips and insights, watch this video called “How To Clean Bar Tape – Get Your Bars Looking Like New Again!” from the Global Cycling Network YouTube channel.
Conclusion
Well, folks, we’ve reached the end of the road (but don’t worry, you can always come back for more). Now that you know how to clean handlebar tape like a pro, you’ll never have to worry about slipping and sliding on your bike again. But before we part ways, I’ve got one question for you: did I cover everything you wanted to know?
If not, don’t hesitate to leave a comment below. I’m always happy to help out my fellow riders, and I read and reply to every comment. And if you found this article helpful, why not share it with a friend? After all, sharing is caring, especially when it comes to bike maintenance. Thanks for reading, and keep on rollin’!
Key takeaways
This article covered how to clean handlebar tape. Here are some key takeaways:
- Cleaning your handlebar tape regularly is important to keep it looking and feeling like new.
- You’ll need a few basic materials to clean your handlebar tape, including mild soap or bike-specific cleaner, a soft-bristled brush, and a clean towel.
- To clean your handlebar tape, you’ll need to remove it from the handlebars, clean it with soap and brush, rinse it with a damp towel, dry it with a dry towel, and reapply it to the handlebars.
- It’s important to use a mild soap or bike-specific cleaner to clean your handlebar tape and to avoid using harsh chemicals or solvents that can damage the tape.
- You should aim to clean your handlebar tape every few rides or whenever it becomes visibly dirty.
- Let the tape air dry for a few hours before reapplying it to the handlebars, and avoid using a hair dryer or other heat source to dry the tape.


